How to Organize Craft Supplies on Shelves and in Bins
How to organize craft supplies: sort materials by use, choose shelves and bins that fit, label what is inside, and keep a simple count of what you own.
By Ultimate Inventory Tracker by Cosmo Suite · Editorial policy
Published · 9 min read
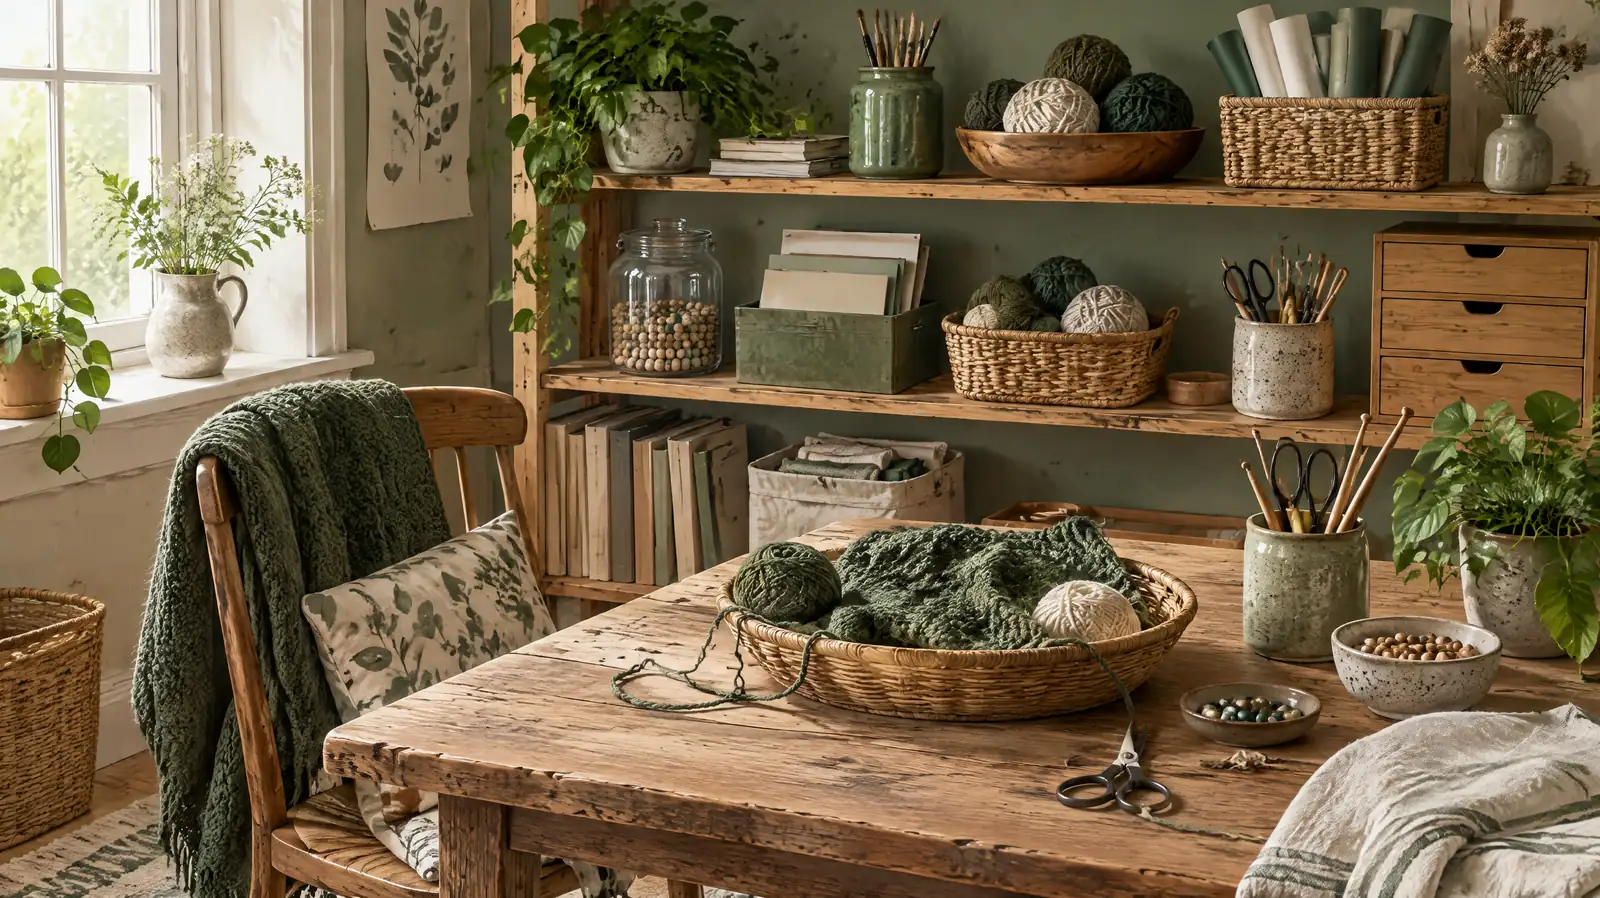
If supplies live in several boxes, drawers, and half-finished project bags, start by grouping what you own before buying more storage. Sort by material and use, then give each group a place that fits the way you work.
The useful test is simple: can you find a material, put it back, and tell whether you need more? A tidy shelf helps with the first two. A short inventory list helps with the third.
If you also need to keep quantities by storage place, the Ultimate Inventory Tracker stock file can sit alongside the shelves and bins.
Craft supply organization at a glance
Craft supplies are easiest to manage when the category, container, and label agree. Put materials you use together in the same group, choose a container that suits their shape, and label the visible side with words you will recognize later.
| Supply group | Storage that can work | Label to start with | Keep near |
|---|---|---|---|
| Yarn and thread | Basket, drawer, or shelf bin | Material and weight or size | The place you knit or sew |
| Paper and card | Flat tray, shelf file, or drawer | Paper type and size | Cutting surface |
| Beads and findings | Divided case or small lidded boxes | Material, size, or color when useful | Assembly area |
| Tools used often | Open caddy or shallow drawer | Tool group | Work surface |
| Packaging | Larger bin or shelf box | Bag, label, or mailer type | Packing area |
These are starting points, not rules. A container earns its space when it protects the material and makes it easier to take out and return. New Mexico State University Extension's guide to a sewing and hobby center, revised in 2020, recommends planning around the activity and available space. It offers examples such as wall storage, compartment trays, and boxes.
The maker’s month, worked through
Imagine a soap-and-candle maker with 24 products and supplies across a shop, online orders, and markets. They make two batches, one with 24 soap bars and another with 18 candles, and three supplies are running low. Those counts come from this site's approved maker example.
The first job is not to buy matching bins. Put the materials into working groups: oils and colorants, candle wax and wicks, molds and tools, labels and packaging, then finished bars and candles. Keep a material used in both recipes in one clearly marked place, rather than splitting it by project.
Next, choose storage by how the material behaves. Keep small items in lidded compartments so they do not mix. Store flat labels and paper in a tray that prevents curling. Put frequently used tools where you can return them without unpacking a box. Finished pieces can have their own shelf or tote, separate from the supplies that go into the next batch.
The three low supplies belong on a restock note or quantity list. The shelf label says where an item lives; the count says how much remains. Keeping those jobs separate prevents a label such as “wicks” from pretending to tell you whether you have enough.
One useful way to map this room is by the item's next action: stored material, material set aside for a batch, or finished piece ready for its selling place. That simple path helps a maker return leftovers without confusing them with finished goods. The counts in the example stay the same; this is a storage arrangement, not another production estimate.
Sort supplies before choosing containers
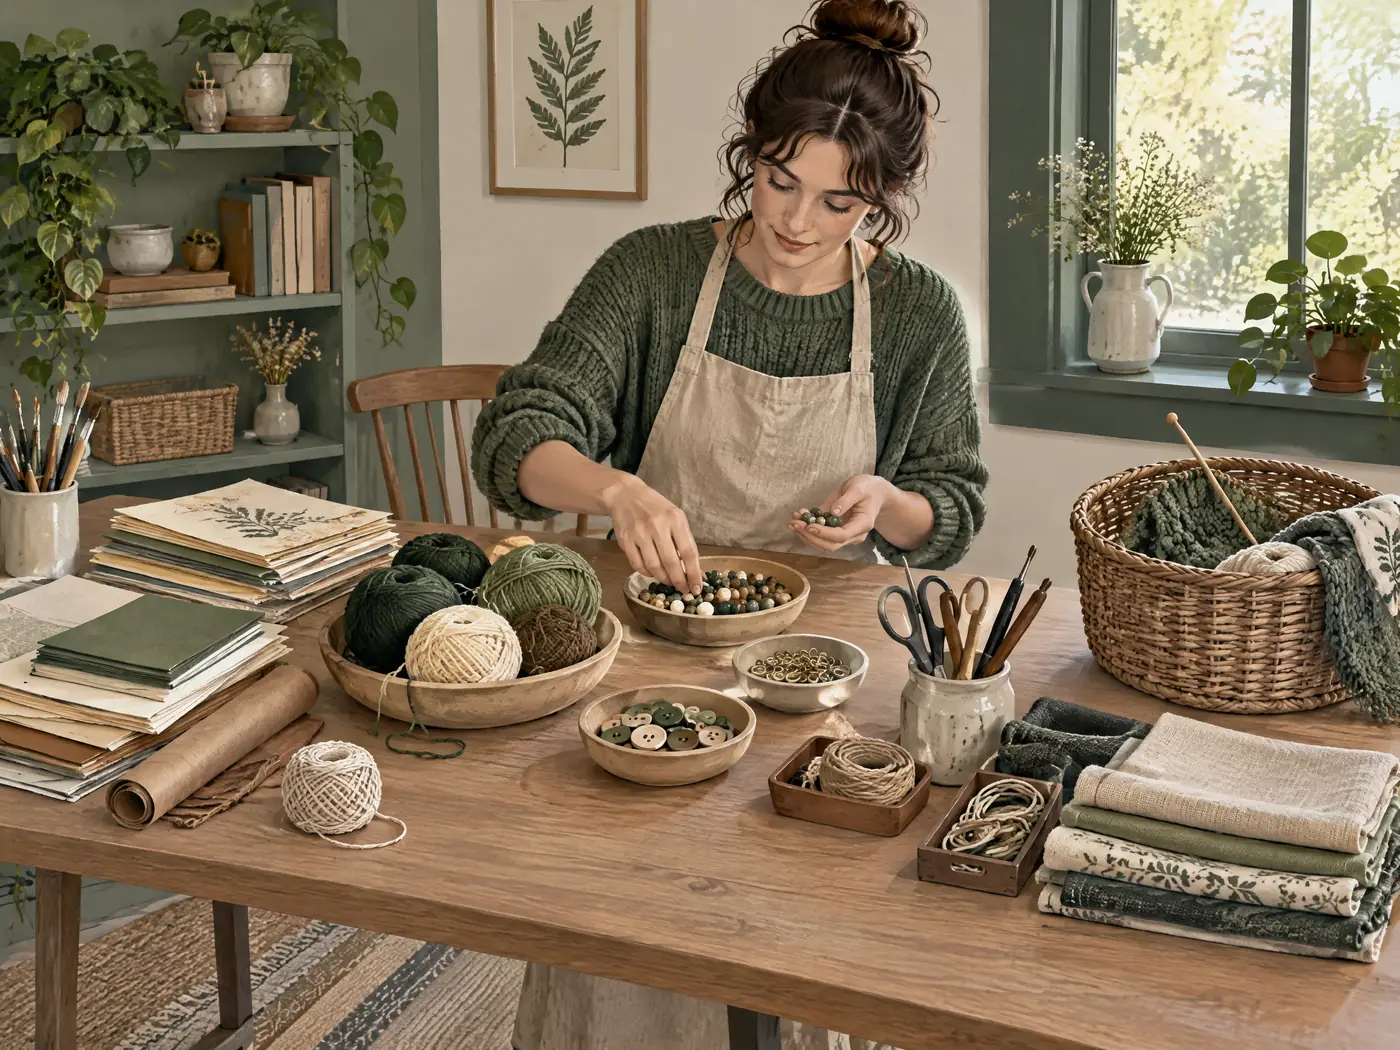
Clear one shelf, drawer, or table at a time. Gather the supplies already stored there, including materials in project bags. Remove empty packaging and separate items that are no longer usable. Do not start by emptying the whole room if you cannot put it back in one sitting.
Make broad groups first: materials, tools, packaging, work in progress, and finished pieces. Then split a group only when the difference changes how you use or store it. For example, separating cotton thread from elastic may help. Sorting every thread by shade may create extra labels without making the next task easier.
Art educator Jennie Drummond describes assessing, organizing, and planning as separate parts of a supply reset in The Art of Education's guide. For a small seller, the same order is useful: see what is there, decide where it belongs, then note what needs replenishing. The guide is written for classrooms, so adapt its examples to your own materials and workspace.
Keep an active-project container if it helps you pause and resume work. It should hold the materials for the current project, not become a second home for every leftover. When a project is finished, return unused supplies to their regular groups and put the finished item with ready-to-sell stock.
Before discarding an uncertain item, set it aside and decide later. A short “review” box is better than mixing unknown scraps into a category you rely on. Give the box a date or review point so it does not become permanent storage.
Choose shelves, drawers, and bins for the material
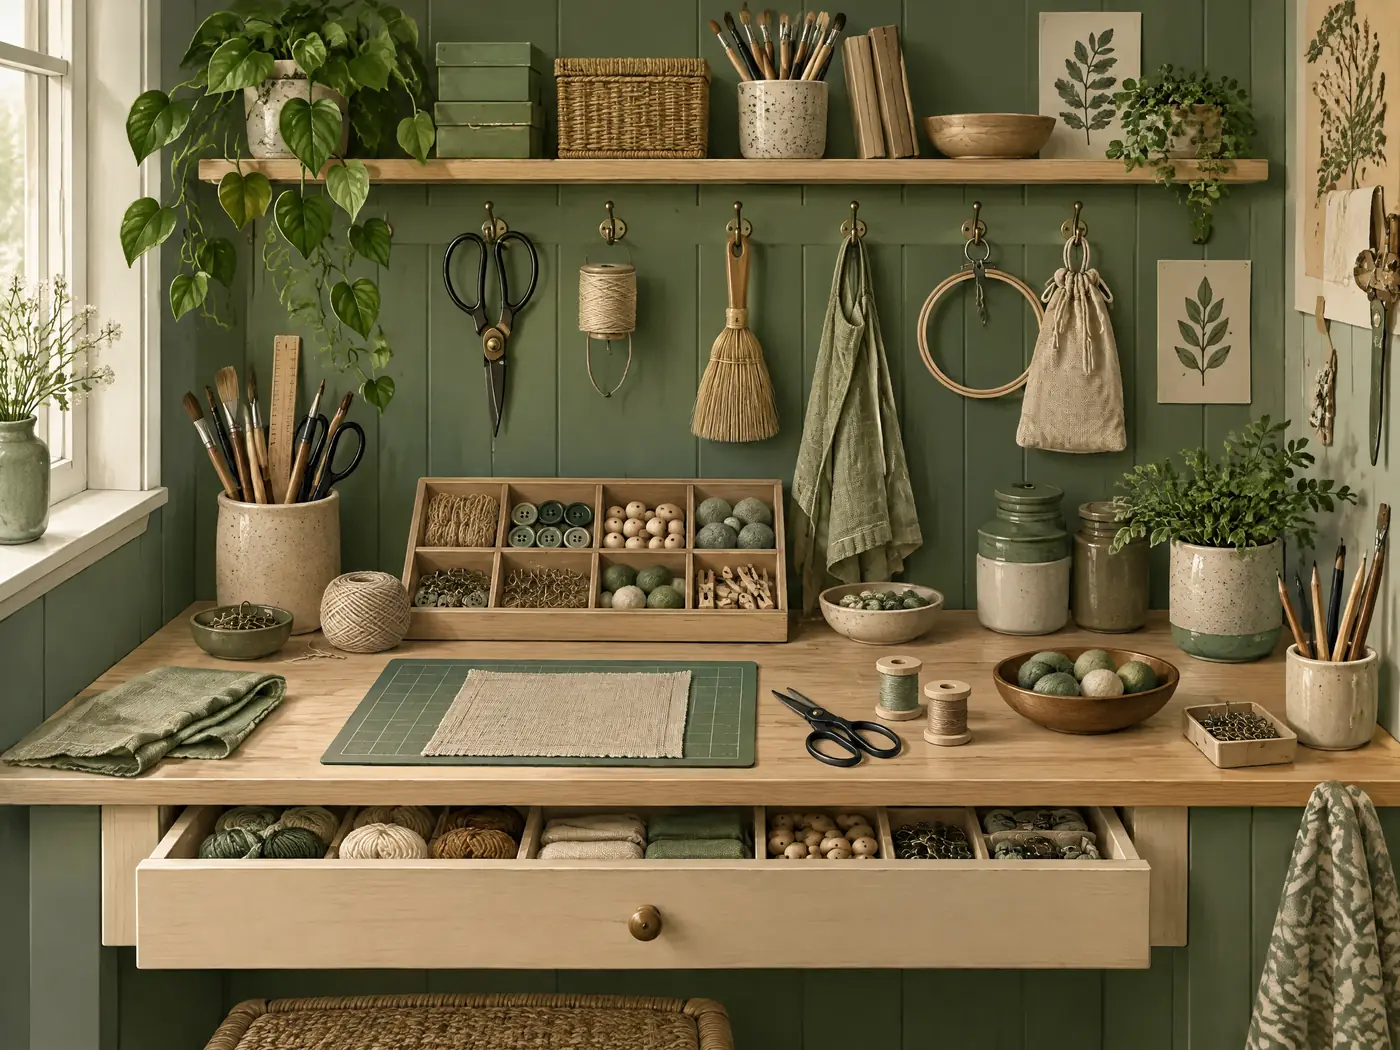
Measure the space you plan to use before buying containers. Check shelf depth, drawer height, and the room needed to pull a bin out. A container that fits the floor but blocks the cupboard door adds another step every time you need a tool.
Match the container to the material. Flat paper needs a flat place. Small findings need compartments or small boxes inside a larger drawer. Soft materials can often sit in a basket, provided they stay clean and do not spill into other groups. Tools used every day should not be buried under occasional supplies.
Use vertical space only when access stays safe and practical. New Mexico State University Extension discusses wall storage for small equipment and thread when floor space is limited. Keep heavier containers lower and avoid stacking so high that you have to move several boxes to reach one.
Try your arrangement with the supplies you already own. Reuse sturdy boxes or jars where they suit the material. Buy organizers after you know which group needs a particular size or divider, not because a matching set looks appealing.
Label the place, then keep a separate count
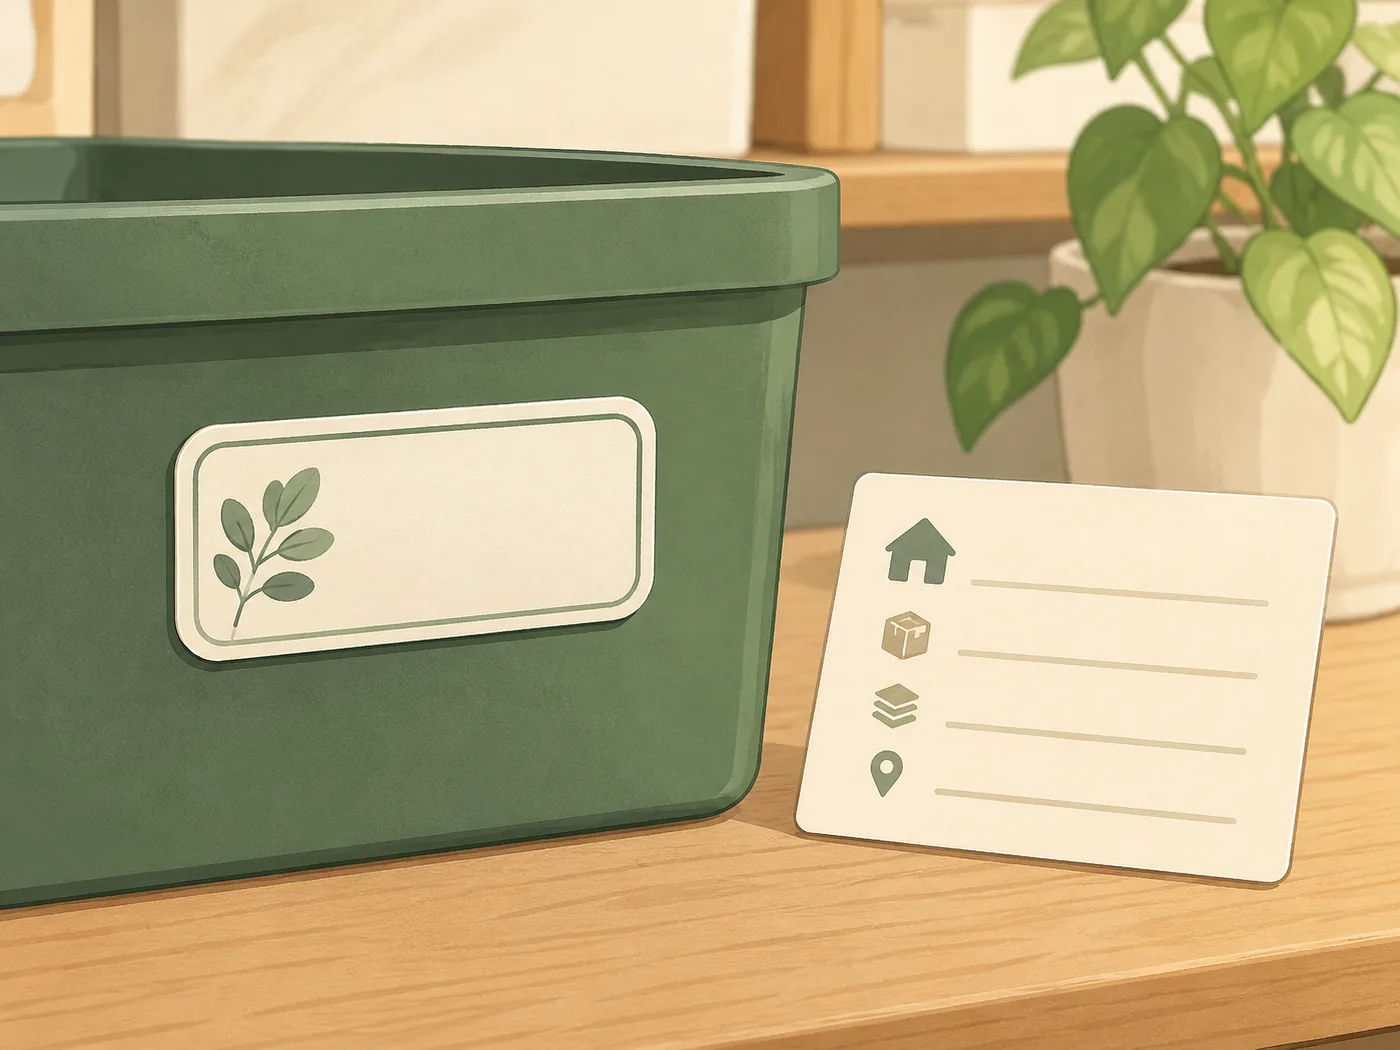
Write labels for the person who will put things away. “Beads” may be enough for a single box. If you have several, add the detail that helps you find the right one, such as glass beads or brass findings. Put the label where it stays visible after the container is shelved.
A storage location is the physical place where a material sits, such as a drawer, shelf, or project tote. A stock record is the written quantity you use to check what remains. They work together, but one cannot replace the other: a label cannot tell you the amount, and a quantity list cannot tell you which unlabeled box holds the material.
Use a label you can change when the category changes. Art educator Jennie Drummond's supply reset guide recommends labels on storage and making the contents easy to identify. A permanent label can become misleading after a project ends or a supply group grows. If you prefer not to write directly on a container, use a removable tag or a card tucked into a clear pocket.
Storage and stock records answer different questions. The label answers “Where is it?” A quantity record answers “How much is here?” Add only the details that help you reorder or check a count: item name, unit, quantity, and storage place. For a supply inventory template, use a simple list that records those fields and update it after a purchase, use, or count.
If supplies are in more than one place, record the place with each quantity. A single total can hide the fact that one shelf is empty while another holds the remaining material. The inventory spreadsheet guide shows how a movement log differs from a one-time item list.
What to use when
Choose the simplest arrangement that solves the problem you actually have. If you lose small pieces, add dividers. If you forget what is in opaque boxes, improve the labels. If you cannot tell how much material remains, keep a count. A new cabinet will not fix a category that is unclear.
| What is going wrong | First change to try | Add only if needed |
|---|---|---|
| Small items get mixed | Separate them into compartments | Label the material or size |
| You forget which box holds an item | Put the category on the visible side | Add a short contents list for mixed boxes |
| Supplies are hard to reach | Move frequent-use items nearer the work area | Reassign a drawer or shelf |
| You buy material you already have | Record quantities and storage places | Review the list before ordering |
| Project leftovers spread around | Use one temporary project container | Return leftovers when the project ends |
Change one shelf or group, then use it for a project. If you still have to move several containers to find the material, adjust the location or label before adding more storage.
Keep the system usable after a project
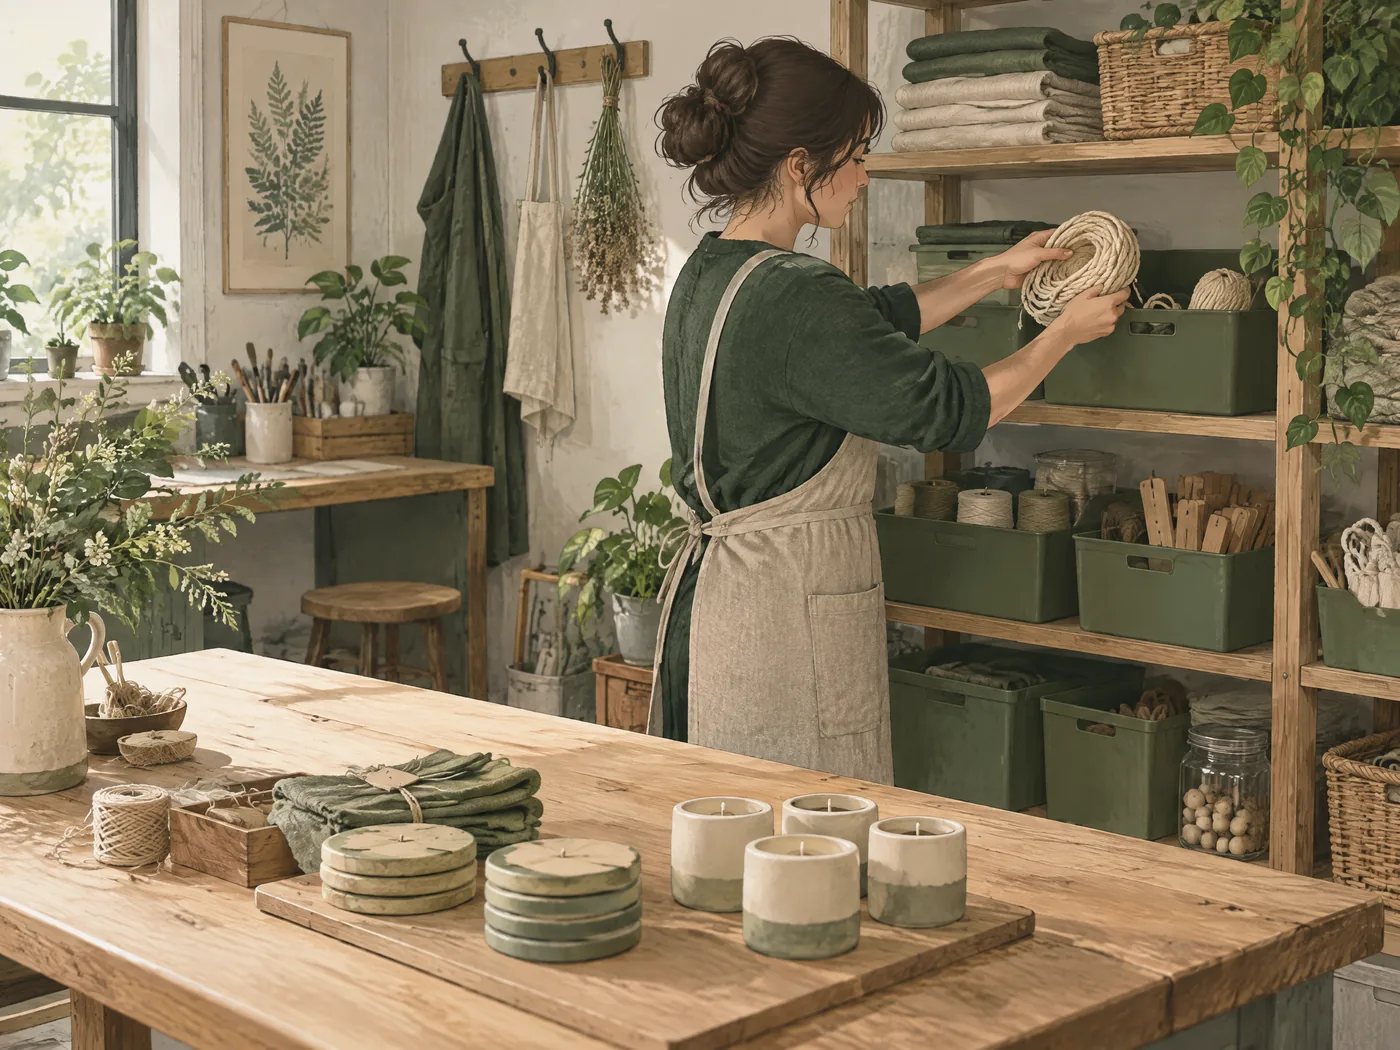
The reset matters more than a perfect first arrangement. When you finish a batch, return reusable materials to their assigned place, move finished pieces to their own storage, and update counts for supplies you used. If you bought more material, update the quantity after it arrives and you have checked it.
Once a month, look for three things: unlabeled containers, items stored in more than one place without a note, and supplies you repeatedly search for. Fix those first. If a category has grown, split it by a detail you actually use. If a category is mostly empty, combine it with a related group.
Keep the labels plain. A system that depends on remembering a color code or an elaborate naming scheme is hard to maintain when you are tired after a market. Use familiar words and a location you can describe without decoding.
How the Ultimate Inventory Tracker handles supply records
The Ultimate Inventory Tracker is one Google Sheets file and one Excel file, with the same 12 connected tabs, for $9 once. Its Products & Supplies tab records items and reorder levels; Stock by Place shows where quantities are held. When you log a purchase, adjustment, transfer, or batch, the related stock views update from that entry.
The file can help you keep a quantity record alongside shelf labels, but it does not arrange the room or identify materials for you. You enter the supply and its place. It does not connect to an online shop or till, scan barcodes, or automatically know when you use a material. See the Ultimate Inventory Tracker file if a linked stock record would help you alongside your storage system.
Frequently asked questions
Should I buy matching storage bins?
Only after you know what each group needs. Check the shelf and the materials first. Different supplies often need different container shapes, and you can reuse containers that already fit.
Is it better to organize craft supplies by project?
Keep a temporary container for an active project if that helps you work. Store the rest by material or use so supplies for future projects remain easy to find. Return reusable leftovers when the current project is complete.
How do I organize craft supplies without a craft room?
Use a shelf, drawer, cupboard, or portable tote that fits your home. Keep frequent-use supplies easy to reach and store occasional items farther away. A dedicated room is not required for clear groups and labels.
What should I do with scraps and leftovers?
Keep leftovers only when you can identify the material and expect to use them. Put them in a defined category or a temporary review box. Avoid mixing unknown scraps with usable stock.
How often should I reorganize craft supplies?
Make small adjustments when you finish projects or notice repeated searching. A monthly glance at labels, crowded groups, and misplaced supplies can catch problems before you need to empty every shelf.
How can I track supplies stored in several places?
Record each place as well as the item and quantity. The Ultimate Inventory Tracker's Stock by Place tab is designed for quantities you enter by location, but entries are manual and the file does not connect to a shop or till.
Frequently asked questions
What is the best way to organize craft supplies?
Group supplies by the way you use them, choose containers that fit the items and your space, and label the contents clearly. Keep frequently used materials easy to reach and review the system after a few projects.
How do I organize craft supplies in a small space?
Use the shelf, drawer, or cabinet space you already have before buying organizers. Keep active materials near your work area, store occasional supplies higher or farther away, and use containers that fit the shelf without blocking access.
Should craft supplies be stored by color or by type?
Start with material or use, such as yarn, paper, beads, or packaging. Add color or size labels only when you often search by those details. A category should make it easy to put the supply back where you expect it.
How should I label craft supply bins?
Use a short category name on the side you can see when the bin is stored. Add a size or color only when it helps distinguish similar supplies. If the contents change often, use a label you can update.
How do I keep track of craft supplies used for products?
Keep physical storage labels separate from quantity records. A shelf label helps you find a material; a stock record helps you check how much remains. Update the record when you use, buy, or count supplies.
Can a spreadsheet organize craft supplies?
A spreadsheet can list supplies, units, quantities, and where you keep them. The Ultimate Inventory Tracker is a Google Sheets and Excel file for recording stock, but it does not connect to an online shop or till or scan barcodes.
